Christian Bastian
Image 1
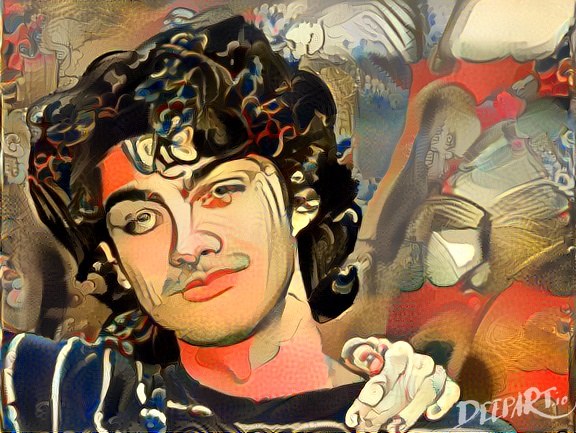
This first image was made using DeepArt.io. To modify the image, I needed target image to imitate. For this image, I went to The Met Collection, and went to their open source section, where I searched for a compellingly textured/colored image. After 10 or so attempts, I selected a result I thought was good, with this being the target image I used.
Image 2

I created this second image using Blender. I tried to keep is simple, as there is so much I could do with an image in Blender. Despite keeping it simple, from my experience in the software, there were quite a few functionalities I made use of, including material node trees, editing/modeling, rendering, etc. To make the image, I first flattened and rescaled a cube. I then positioned the camera in an isometric, top-down view. Next, I created a material which used an image, using project-from-view to allow the image to always face the camera. With this texture, I used a random number between 0 and 1 (different for each object using the texture), to randomly shift the hue of the original image. Finally, I duplicated the object a bunch of times, repositioning and rescaling, in an attempt to create a bit of a pattern. Finally, I quickly added and colored a few background planes to liven up the background and rendered the image. (Some minor, but important, details are left out as they are way too technical: moving the camera, render settings, trial & error, etc).
Image 3

For the final image I used GIMP. Since the instructions were vague, I just looked at the examples and attempted to apply the basic concepts being demonstrated. First I found an CC0 image on Wikipedia Commons. Then, I used that image as the background to place the image of me into. I hid the background of my image with a mask and used the transform tool to place the image on the side of the building. I used the brush tool on the mask to make the bottom edge of my picture appear worn. Next, used the clone and heal tools to change the background image to work better with my picture: changed the ad to be abstract shapes, and changed the lower lettering to non-sense and the upper letter to my initials. I adjusted the hue, value and saturation of my image to match the picture’s colors. Finally, I changed the background. I used a mask on the background layer to hide the bland sky. I used the gradient tool on a new layer behind the picture of the building to create a new sky.
 5912 - Homework 2